


at the studio isn't as satisfying as a daily routine. Learn new poses, good sequencing, correct form and the joy of careful guidance from your studio yoga class. Perfect your poses, deepen your commitment and enjoy better fitness and peace of mind by adding practice at home. Yoga homework isn't complicated, doesn't require much more than time and attention, and will enhance your appreciation for the benefits of your work in the studio.
Make Space
You may not have a spare room to dedicate to your yoga practice but you do need a mat-sized piece of real estate that becomes your at-home studio. Try to find an empty corner or a cleared area next to a bare wall so you have support for inversions and Legs Up the Wall pose. A serene, uncluttered, light-filled space with a simple altar, spiritual image or just a single flower, crystal or a candle helps set the right tone for a stress-relieving, focused practice that can lift you out of the daily chaos. Comfort and safety are key, so carve out enough room for more ambitious, stretching poses as well as the basic standbys contained by a yoga mat. Always practice in the same spot to build a daily yoga habit.
Yoga Time
Life gets in the way of home practice if you let it, so schedule time for yoga and treat it like any other serious appointment. Experiment to see what time of day works best for you -- maybe a morning Surya Namaskar is your wake-up call. Mid-day on the mat might be better than a lunch break from the killer pace in your home office. A restorative yoga session after work or before bed could stretch out kinked muscles and lower your stress to healthy sleep level. There's no rule about practicing for a set class time, so if you have to grab a few minutes here and there, create the space to make that happen. Keep your mat handy for the toddler's nap time; breathe into Pranayama while you're on hold for a conference call; bookend your day with energizing backbends and tension-releasing twists.
Safety and Sequencing
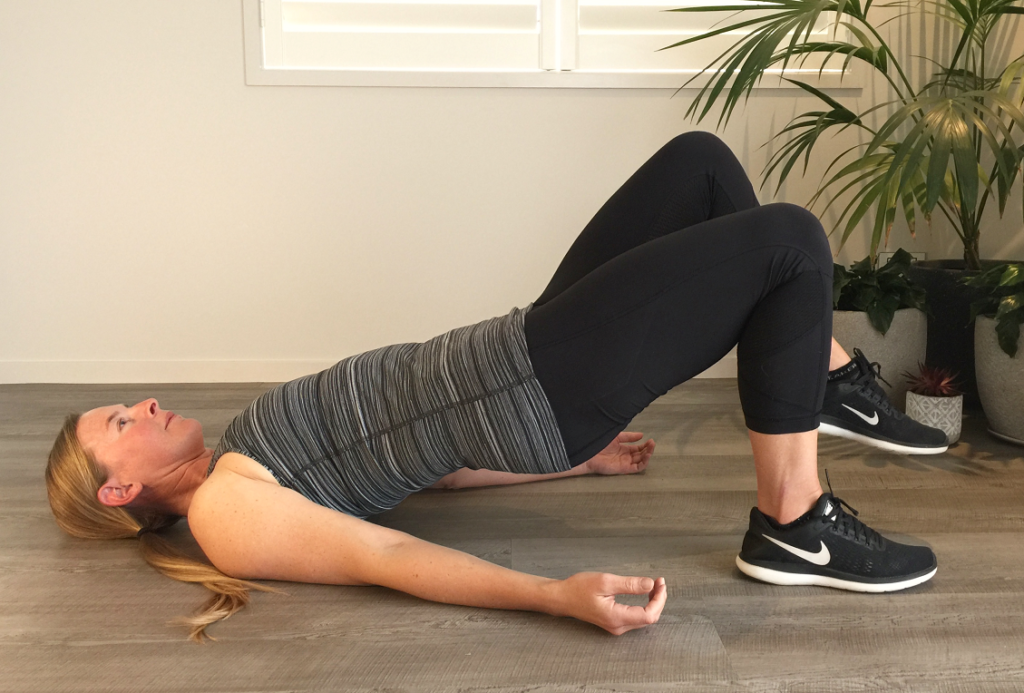
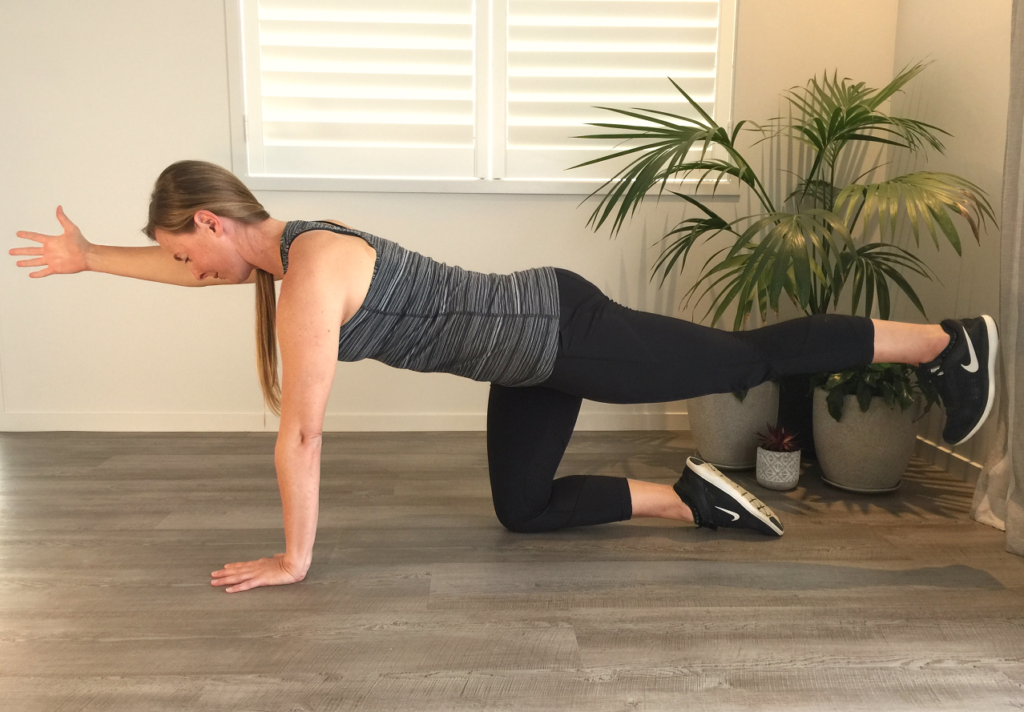
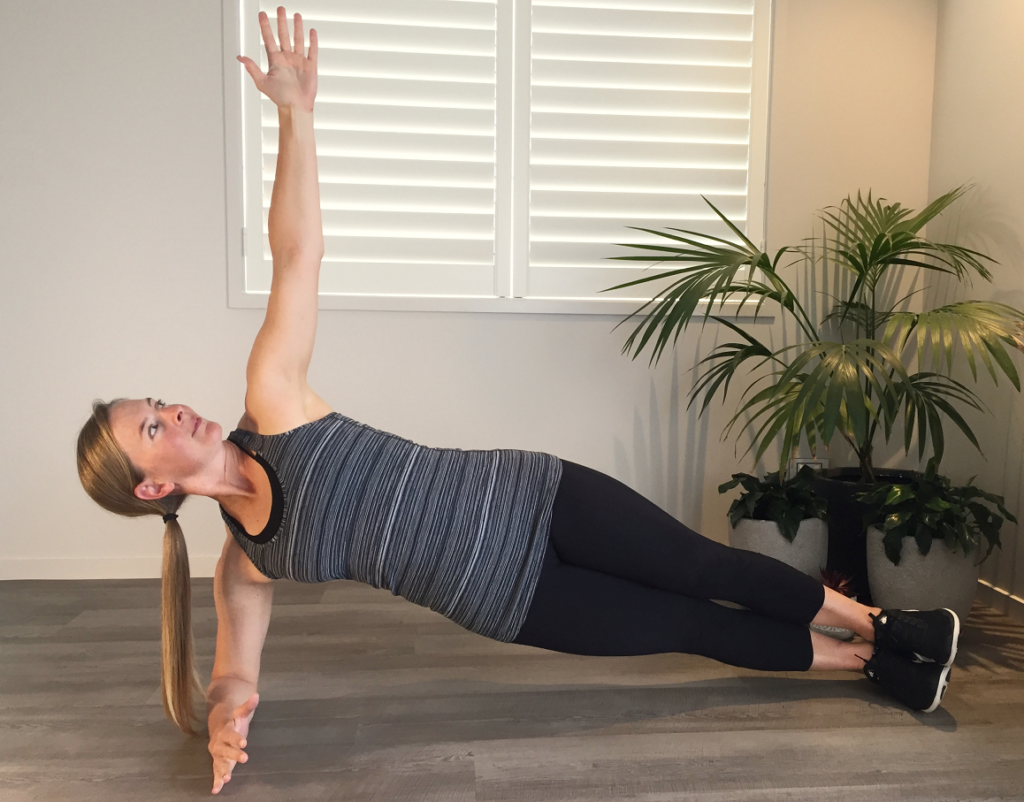
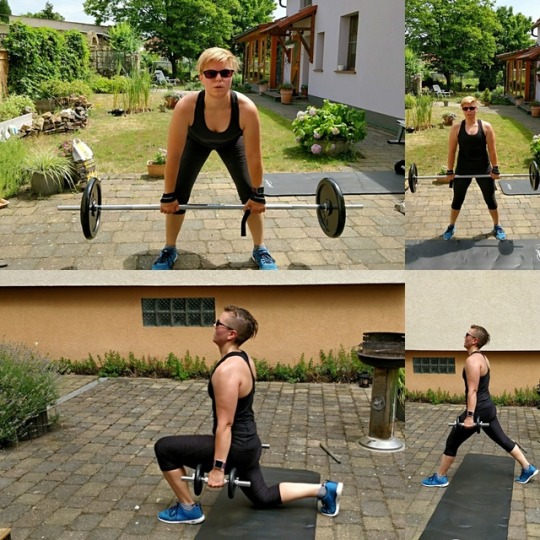
Safely build a home practice with sequencing that takes you through the spectrum of warm-ups, energizing and stretching poses, and gentle, relaxing poses. A standard sequence includes opening asanas such as Easy pose for a brief meditation and Hero pose to activate large leg muscles. Several repetitions of Sun Salutations take care of stretching, strengthening and warming up. Standing poses activate major muscle groups for stamina, flexibility and strength. Choose related poses such as Extended Triangle and Revolved Triangle that work opposing muscles. Inversions -- Headstand, Downward-Facing Dog -- are demanding and energizing, as are backbends like Cobra and Bridge. Don't skip backbends if you sit at a desk all day. Twists feel so good because they ease tension in your shoulders, back and hips and, along with Forward Bends, they signal your mind to calm down. Close your practice with Supported Shoulder Stand and Savasana, Corpse pose, to completely relax and savor how refreshed you feel.
Private Coaching
It can be inspiring to have an instructor, even at home. So take advantage of free and inexpensive options for every level of practitioner from beginner to advanced. Kripalu, Yoga Journal, Yoga International, Gaiam and others offer free yoga classes and individual pose instructions online. Your library likely has numerous DVDs you can borrow. YouTube is a good source for sampling free yoga instruction. Find a favorite video instructor and invest in one or more DVDs to follow for a daily practice. Tailor your at-home yoga to your goals. Explore poses that target one part of your body that needs work -- spine stretches or hip openers -- and create your own mini-sequence. Put the poses you love in the lineup so you always look forward to hitting the mat.


 To
begin, find a comfortable seat on a yoga mat or chair. If you’re
sitting on the floor, sit up on the edge of a blanket or onto a block.
Bend your knees to cross your right shin in front of your left and bring
your feet under your knees.
To
begin, find a comfortable seat on a yoga mat or chair. If you’re
sitting on the floor, sit up on the edge of a blanket or onto a block.
Bend your knees to cross your right shin in front of your left and bring
your feet under your knees.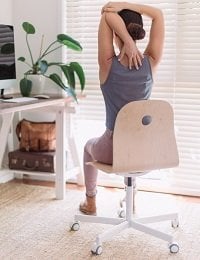 If you’re seated on the ground, go ahead and cross your left shin in front of the right this time, or stay seated in your chair.
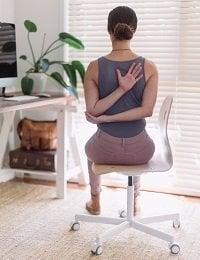 Now
take your right arm behind your back. Depending on your mobility here,
your forearm will stay at your lower back or you might walk your hand up
your spine, in between the the shoulder blades as pictured. Use your
left hand to hold onto your right forearm or elbow.
Now
take your right arm behind your back. Depending on your mobility here,
your forearm will stay at your lower back or you might walk your hand up
your spine, in between the the shoulder blades as pictured. Use your
left hand to hold onto your right forearm or elbow.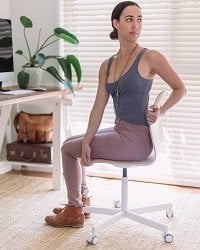 From
a seated position on the floor, place your left hand on your right knee
and your right hand on the floor behind you. Lengthen up through your
spine as you inhale and twist to the right as you exhale. Stay for 3-5
breaths, then switch sides.
From
a seated position on the floor, place your left hand on your right knee
and your right hand on the floor behind you. Lengthen up through your
spine as you inhale and twist to the right as you exhale. Stay for 3-5
breaths, then switch sides.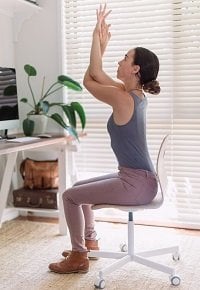 Now
come to a standing position with the feet hip width apart. Cross your
right arm underneath your left arm, bend the elbows and bring your
forearms toward each other. If you can, touch the inside of the palms
together, too. Then bend your knees and cross your right leg over your
left.
Now
come to a standing position with the feet hip width apart. Cross your
right arm underneath your left arm, bend the elbows and bring your
forearms toward each other. If you can, touch the inside of the palms
together, too. Then bend your knees and cross your right leg over your
left.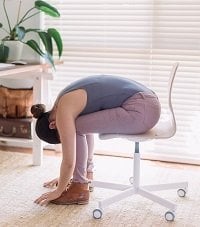 From a standing position with the feet hip width apart, bend your knees a lot as you fold forward.
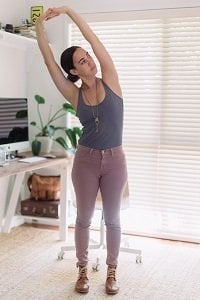 This
pose unravels tension in the side of the body and creates space between
the ribs, making it easier to take those deeper, calming breaths.
This
pose unravels tension in the side of the body and creates space between
the ribs, making it easier to take those deeper, calming breaths.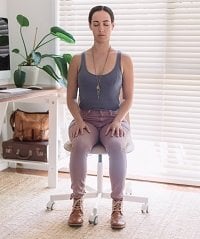 Find
a comfortable seat once more and close your eyes. Start by noticing the
movement of the breath in your body. Take 3 or 4 rounds of breath,
simply observing the sensations. Then, count your inhale and make your
exhalation the same count. For example, if you counted to 4, exhale to a
count of 4.
Find
a comfortable seat once more and close your eyes. Start by noticing the
movement of the breath in your body. Take 3 or 4 rounds of breath,
simply observing the sensations. Then, count your inhale and make your
exhalation the same count. For example, if you counted to 4, exhale to a
count of 4.


